
Creating Projects
On RobusTest, all activity related to the testing of a mobile app will be part of a Project.
A Project is a logical workspace that contains all builds, test cases, test suites, test runs, and test reports associated with your application testing. It also facilitates team collaboration and project organization.
Creating a New Project
Step 1: Access Project Creation
After logging into RobusTest, click the Create Project button on the landing page.
Step 2: Configure Project Settings
On the Create New Project page, provide the following information:
| Field | Description | Required |
|---|---|---|
| Project Name | Usually the name of your application under test | Yes |
| Project Description | A brief description of the project's purpose | Optional |
| Project Type | The platform you are testing (see below) | Yes |
Project Type Selection
Choose the project type that matches your application:
| Project Type | Use Case | Build Format |
|---|---|---|
| Android | Native or hybrid Android apps | .apk or .zip |
| iOS | Native or hybrid iOS apps | .ipa or .zip |
| Mobile Web | Web apps and responsive websites on mobile browsers | No file upload — enter a URL |
| Device Only | Device hardware, SIM, and connectivity testing | No file upload |
| Roku | Roku streaming device apps | Platform-specific |
| WebOS | LG WebOS TV apps | Platform-specific |
| Tizen | Samsung Tizen TV apps | Platform-specific |
| Television | Smart TV testing (generic) | No file upload |
| API | API-level test execution | No file upload |
For detailed information about each type, see: Project Types
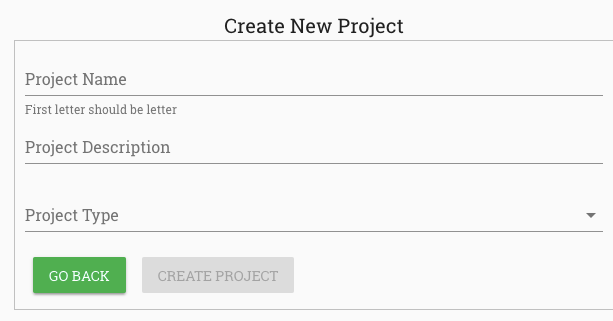
Step 3: Complete Project Creation
Click the Create Project button. You will be redirected to the newly created Project Dashboard.
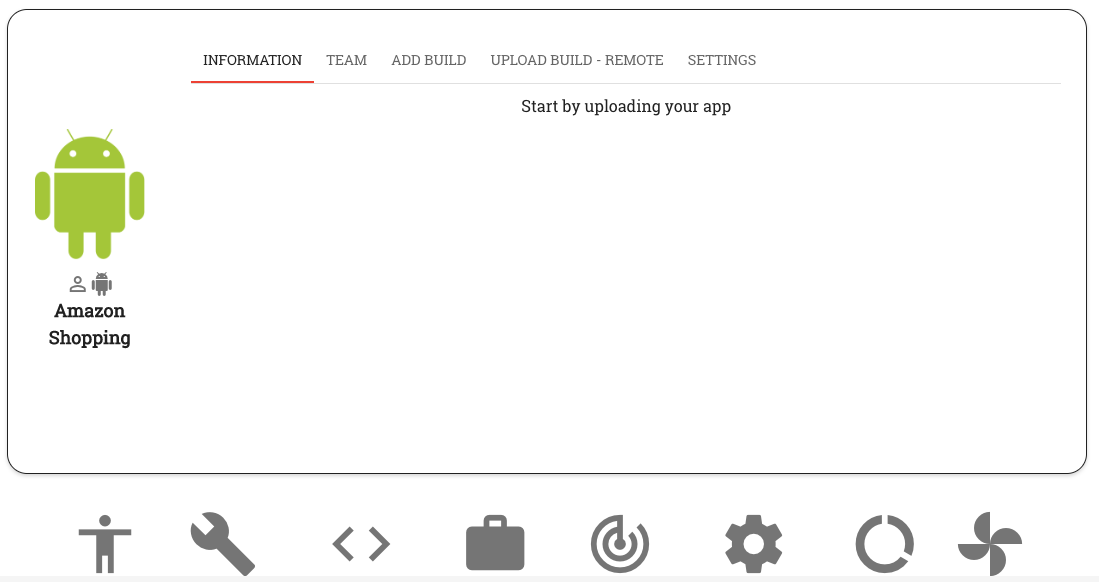
Uploading Your Application Build
Step 4: Upload Your Build
After creating a project, upload your application build for testing:
Android Projects
Supported Formats: .apk or .zip
- Click the Upload new build button (the
+icon) on the Project Dashboard - Select your APK or ZIP file from your computer
- Add a label and version information
- Click Upload to complete the process
Tip: Use ZIP files when you have multiple APK files or additional resources to upload together.
iOS Projects
Supported Formats: .ipa or .zip
- Click the Upload new build button (the
+icon) on the Project Dashboard - Select your IPA or ZIP file from your computer
- Add a label and version information
- Click Upload to complete the process
Note: iOS devices must be provisioned before testing. See Adding iOS Devices for setup requirements.
Mobile Web, Device Only, Television, and API Projects
Build upload is not required for these project types.
- Mobile Web projects: Configure your web URL in the project settings
- Device Only, Television, API projects: Ready for testing immediately after creation
Next Steps
Congratulations! Your project is now ready for testing!
| Start Testing | Set Up Automation | Project Dashboard |
|---|---|---|
| Manual Session → | Hub Documentation → | Project Dashboard → |
Project Best Practices
Naming Conventions
| Recommendation | Example |
|---|---|
| Use descriptive project names | MyApp_Android or ECommerce_iOS |
| Include environment or version | ShoppingApp_v3.2_Beta or MyApp_Staging |
Team Organization
- Add team members after project creation and assign appropriate roles
- Create separate projects for different environments (staging, production)
Build Management
- Upload builds with descriptive labels and version information
- Set up remote build upload via the API for CI/CD integration — see Builds